
0
Owner's of the iOptron Telescope iOptron Telescope gave it a score of 0 out of 5. Here's how the scores stacked up:
7
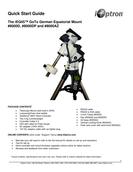
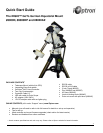
iOptron Corp. | 6E Gill Street | Woburn, MA 01801 USA | (781) 935-2800 | Toll Free (866) 399-4587 | www.iOptron.com
Figure 18
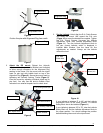
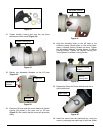
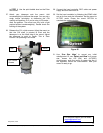
21. Thread Vertical Locking Nut onto the top brass
latitude post of the mount (Figure 19).
Figure 19
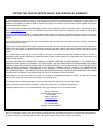
22. Retract two Adjustable Washers on the AZ base
(Figure 20).
Figure 20
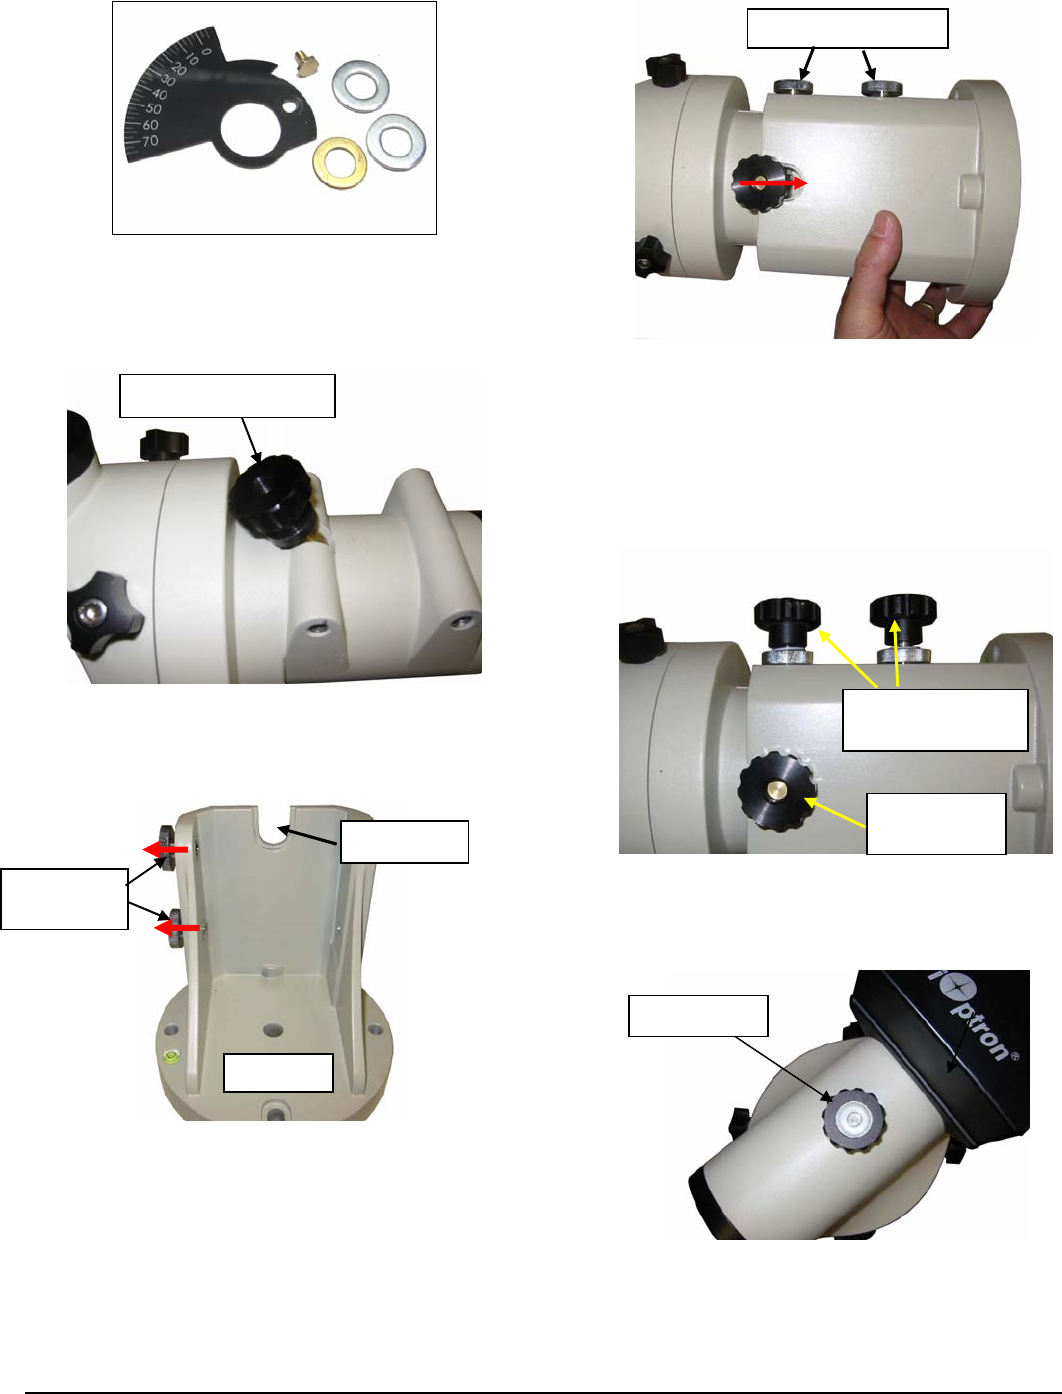
23. Place the AZ base onto the mount head with Vertical
Locking Nut placed in the open slot on AZ base
(Figure 21). Be careful that the mount will be bottom
heavy.
Figure 21
24. Align the mounting holes on the AZ base to the
Latitude Locking Screw holes on the mount head.
Insert 4 Latitude Locking Screws into them. Tighten
the Adjustable Washers. Loosely tighten 4 Latitude
Locking Screws. Tighten the Vertical Locking Nut.
Then tighten the Latitude Locking Screws.
Figure 22
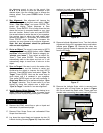
25. Replace the Polar Axis Cover with the one with a
spirit bubble level.
Figure 23
26. Install the mount onto the pier/tripod top. Level the
mount by adjusting the tripod legs or pier feet (Refer
Vertical Locking Nut
A
Z base
Adjustable
Washer
Open slot
Adjustable Washer
Vertical
Lockin
g
Nu
t
Latitude Locking
Screws
Spirit Level


Find Your Products By Category
Please Login
