
0
Owner's of the iOptron Telescope iOptron Telescope gave it a score of 0 out of 5. Here's how the scores stacked up:

8
iOptron Corp. | 6E Gill Street | Woburn, MA 01801 USA | (781) 935-2800 | Toll Free (866) 399-4587 | www.iOptron.com
to STEP 1). Use the spirit bubble level on the Polar
Axis Cover.
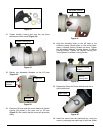
27. Attach your telescope onto the mount. Add
counterweight(s) to balance the scope. You may do a
rough torque calculation to determine the CW
quantity and position. Or if you’re using in EQ mode --
mark the position. The mount can only hold a light
payload without counterweight(s). Double check the
leveling of the system.
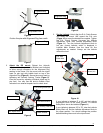
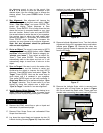
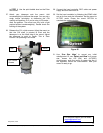
28. Release four R.A. clutch screws. Adjust the mount so
that the CW shaft is pointed to East and the
telescope is on the West side of the mount. Adjust
the telescope to point to Zenith. This is “Zero
Position” for operating in AA mode.
Figure 24
29. Connect the hand controller, DEC cable and power
supply and turn the mount on.
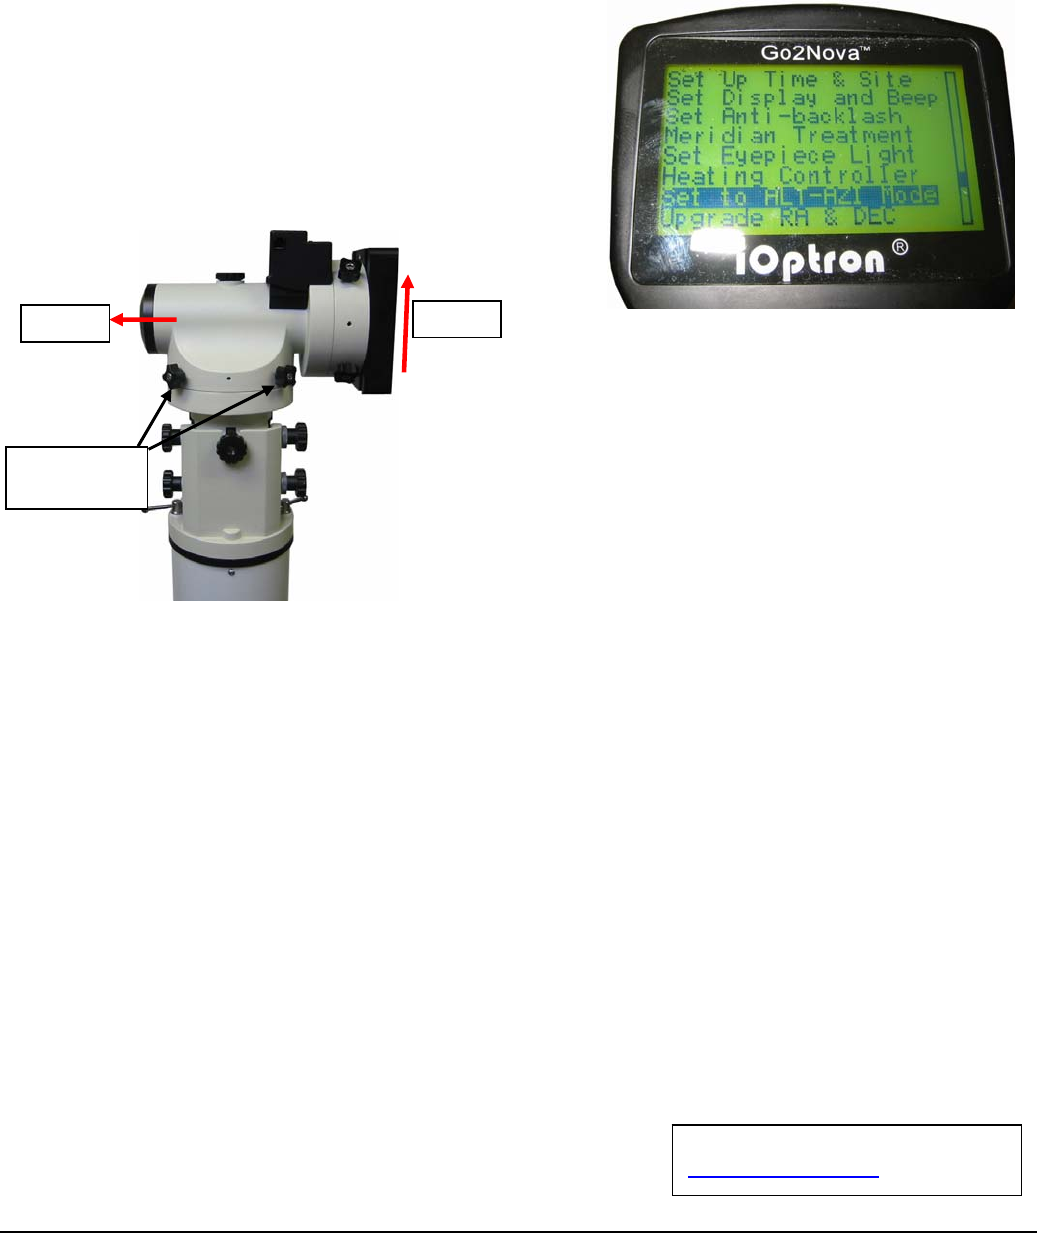
30. Set the hand controller by following the iEQ45 initial
set up for time and site information. Set the mount to
ALT-AZI mode. Power the mount OFF/ON to
complete the mode switching.
Figure 25
31. Use “One Star Align” to correct any initial
misalignment. Or use “Select and Slew” to a known
star, loosen the AZI (RA) and ALT(DEC)
clutch/screws, push the mount to center the star in
the eyepiece, relock the clutch/screws. Now your
mount is ready to go.
For technical support you can email
support@ioptron.com
May 2013, V2.0
EAST
Zenith
R.A. Clutch
Screws


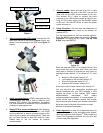
Find Your Products By Category
Please Login
